Clickly is designed to do one thing extremely well: help you create better YouTube thumbnails faster.
But how does it actually work behind the scenes?
On this page, I’ll walk you through the entire Clickly workflow from start to finish—what happens at each step, what you should focus on, and how to get the best results as a beginner.
(If you want the full product overview first, start here:
👉 detailed Clickly review)
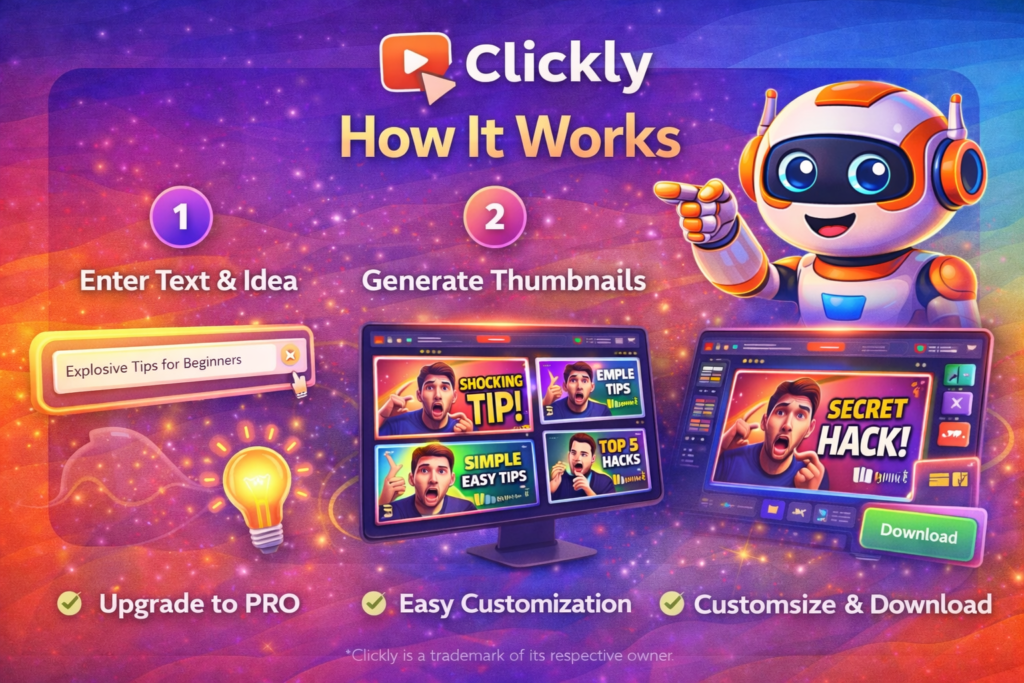
The Big Picture: How Clickly Works
In simple terms, Clickly follows a 5-step process:
- You paste your YouTube video link
- Clickly analyzes your content
- AI generates thumbnail designs
- You customize in Canva
- You download and publish
That’s it.
No complex setup.
No technical configuration.
No learning curve.
Let’s break each step down properly.
Step 1 – Paste Your YouTube Video Link
The first thing you do inside Clickly is paste your YouTube video URL.
This can be:
- A video you’re about to publish
- An existing video you want to improve
- A competitor video you want to model
Clickly uses this link to understand:
- The topic of your video
- The general tone
- The emotional angle
You’re not uploading files or filling out forms. You simply give it the link and move on.
Why This Step Matters
Most tools start with a blank canvas.
Clickly starts with context.
That means the thumbnails are generated based on what your video is actually about, not random templates.
Step 2 – AI Analyzes the Video
Once the link is added, Clickly’s AI processes the video.
It looks at:
- The subject matter
- Keywords and themes
- Emotional cues
- Visual style
From this, Clickly determines what kind of thumbnail patterns are most likely to work for that type of content.
This step happens automatically in the background.
You don’t need to adjust any settings.
Why This Step Matters
This is where Clickly becomes different from normal design tools.
You’re not just designing something that “looks nice.”
You’re generating something that’s aligned with real viewer behavior.
Step 3 – AI Generates Thumbnail Designs
After analysis, Clickly creates multiple thumbnail options for you.
These are based on:
- Proven design patterns
- Real-world performance data
- Emotional triggers
Each design is a ready-made thumbnail layout that you can preview instantly.
You’ll usually see:
- Different text placements
- Different emotional angles
- Different visual contrasts
Why This Step Matters
This removes the hardest part of thumbnail creation:
deciding what to try.
Instead of guessing, you’re testing ideas that already worked in similar situations.
Step 4 – Choose from the Winning Template Library
In addition to AI-generated designs, Clickly also gives you access to its winning template library.
This includes:
- 2,000+ thumbnail templates
- Each inspired by high-performing YouTube videos
- 3–4 variations per template
You can filter by:
- Style
- Emotion
- Layout
- Niche
Why This Step Matters
Great thumbnails follow patterns.
Clickly gives you those patterns instantly, so you’re not reinventing the wheel every time.
This is especially useful if:
- You create similar content repeatedly
- You manage multiple channels
- You want consistent branding
Step 5 – Add AI Face Cloning (Optional)
One of Clickly’s most powerful features is AI face cloning.
You upload one photo of your face, and Clickly can generate:
- Different expressions
- Different angles
- Different emotional looks
These faces can be added to any thumbnail design.
Why This Step Matters
Photoshoots are one of the biggest friction points for creators.
Most people either:
- Reuse the same image
- Avoid using faces
- Spend time setting up new shots
Face cloning removes all of that.
One photo becomes dozens of usable visuals.
Perfect for:
- Faceless channels
- Shy creators
- Affiliate marketers
- Business owners
Step 6 – Export to Canva for Editing
Once you choose a thumbnail, Clickly exports it directly to Canva.
From there, you can:
- Edit text
- Change colors
- Add logos
- Adjust layout
And download the final version.
No Photoshop.
No paid design tools.
No technical skills required.
Clickly works perfectly with free Canva.
Why This Step Matters
You get AI speed, but still keep creative control.
If something doesn’t feel right, you can tweak it visually without learning new software.
Step 7 – Download and Publish
The final step is simple.
You download the thumbnail and upload it to YouTube.
That’s the full Clickly workflow.
From idea to published thumbnail, the entire process usually takes under 2 minutes.
How Clickly Improves Your Results
Clickly doesn’t guarantee success. No tool can.
But it improves your chances by optimizing the most important metric on YouTube:
Click-through rate (CTR).
Better thumbnails lead to:
- More clicks
- Better engagement
- More watch time
- Stronger algorithm signals
Clickly focuses on the first step in that chain:
getting people to click.
Common Beginner Mistakes (And How Clickly Helps)
Mistake 1 – Overthinking Design
Clickly removes decision fatigue by giving you starting points.
Mistake 2 – Using Random Colors
Clickly uses proven visual patterns.
Mistake 3 – Inconsistent Branding
Clickly templates help maintain consistency.
Mistake 4 – Spending Too Much Time
Clickly compresses the entire workflow into minutes.
How Much Does It Cost to Use Clickly?
Clickly is a one-time payment tool.
No subscriptions.
No monthly fees.
Lifetime access.
For full cost breakdown, visit:
My Honest Take on How Clickly Works
To be honest, Clickly’s biggest strength is not the AI.
It’s the workflow design.
Every step removes friction:
- No blank canvas
- No technical setup
- No complex editing
- No long learning curve
It’s designed for people who want results, not software mastery.
Final Thoughts
Clickly works because it focuses on one thing:
Making it easier for creators to produce thumbnails that get clicked.
The process is:
- Simple
- Fast
- Repeatable
- Scalable
If you’ve ever felt stuck staring at a blank design screen, wondering what to try, Clickly replaces that uncertainty with structure.
And in content creation, structure is what leads to consistency—and consistency is what leads to growth.